Watch video HERE.
Learn how to create a no code token on MetisDao HERE
Learn how to verify your token smart contract HERE .
How to provide the first liquidity for your token on @netswapofficial
Hey guys this the 3rd & last thread for my no-code series on how create a token with no code on #Metis .
This series covered from begining to end how to create your own #Metis Meme/utility token without knowing any code.
In the process of this tutorial i created a meme token “AAVE INU” with the ticker “avv”
& smart contract address: 0x977FE870321ae0bdB1c387f0Ca5A1eDc3b2474E1
Alright let’s dive in.
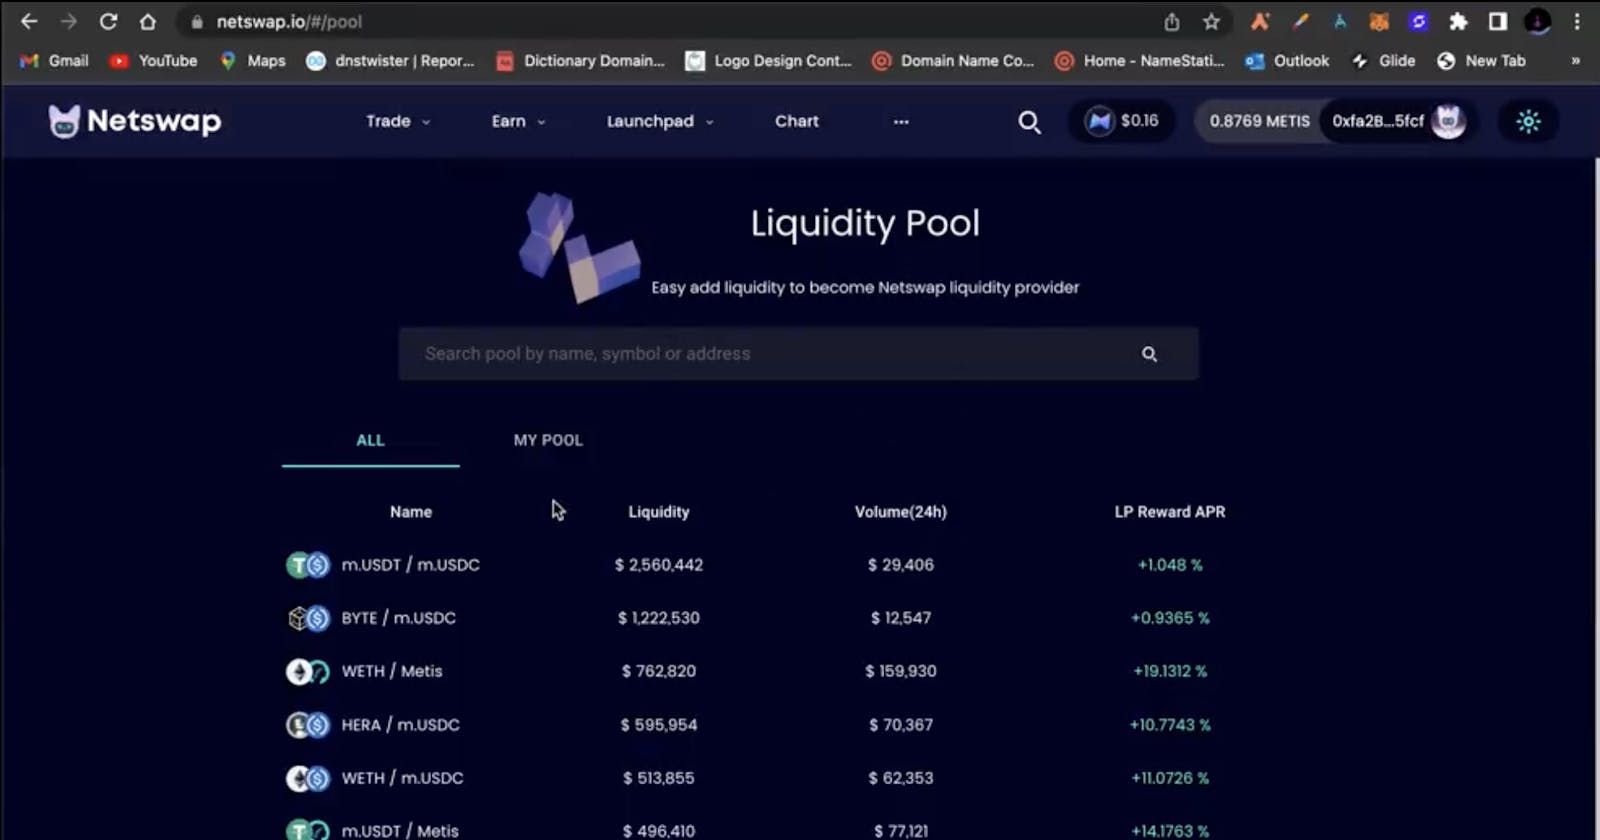
Providing the first liquidity of a token on @netswapofficial can be done without the need for coding knowledge. Here is a tutorial on how to do it:
1. First, you will need to have your token address ready and deployed on the Metis Andromeda Mainnet. check part 1 & 2 of this series on how to do that with no code using @cookbook_dev
2. Next, you will need to go to the @netswapofficial website (netswap.io/#/home) and connect your wallet to the website.
3. Once connected, click on the “Trade” tab on the top menu & navigate to “pool” then click on the “My Pool” button.
4. Now click on “Create Pool”.
5. On the next screen, you will be prompted to select the token that you want to provide liquidity for. Use the search bar to find your token using your token address & select it. You can peer your token with any other token of your choice.
6. After selecting the token, you will be prompted to enter the amount of tokens that you want to add as liquidity. You will also see the minimum and maximum amount of each that is required to provide liquidity.The ratio of tokens you add will set the price.
7. Once you have entered the amounts, review the details of the transaction and then confirm it by clicking on the “Approve” and “Supply” buttons. This will add your tokens and paired token to the liquidity pool.
8. Wait for the transaction to be confirmed on the blockchain. Once confirmed, your token will now be listed on #Netswap and can be traded with other ERC-20 tokens on the platform.
It’s also worth noting that providing liquidity on #Netswap is a two-way trade and that liquidity providers earn a small percentage of the trade fees. This is a way of incentivizing people to provide liquidity to the pools.
In summary, providing the 1st liquidity of a token on Netswap can be done without coding knowledge by using Netswap , connecting your wallet, selecting the token, and adding the desired amount of tokens and paired token as liquidity to the pool.
follow @MetisCharter

